|
The point of this assignment was to teach us how to use lighting to bring out the facial features of a persona and to bring out the shadows in there face. The first assignment was window lighting which included using a reflector sheet of paper to bounce the light from the window onto the other side of the persons face as well. For the studio lighting we had to line up the lights on our person specifically and figure out which position of the lights worked the best for the specific individual. 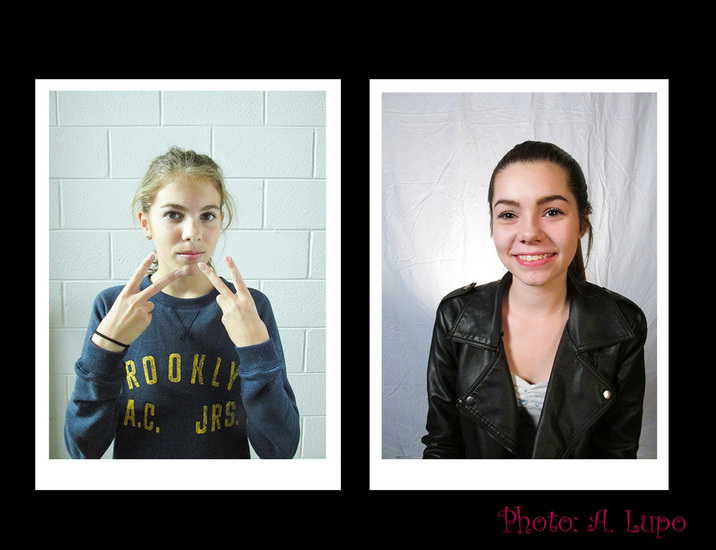
0 Comments
This week I shot black and white pictures In wanted to create a more creepy effect which is why each photo looks is more on the grayish mid-tones side then the brighter highlight side of the histogram.In order to get a more forgotten town look. I used my skateboard and propped it against my house to get the different textures of the leaves, the trunk of a tree and the boarding on the house. I especially like this photo because it looks like there is a little color in the skateboard when in reality there is none it is just different tones of grey. This week I learned how to create different moods in a photo based on lighting.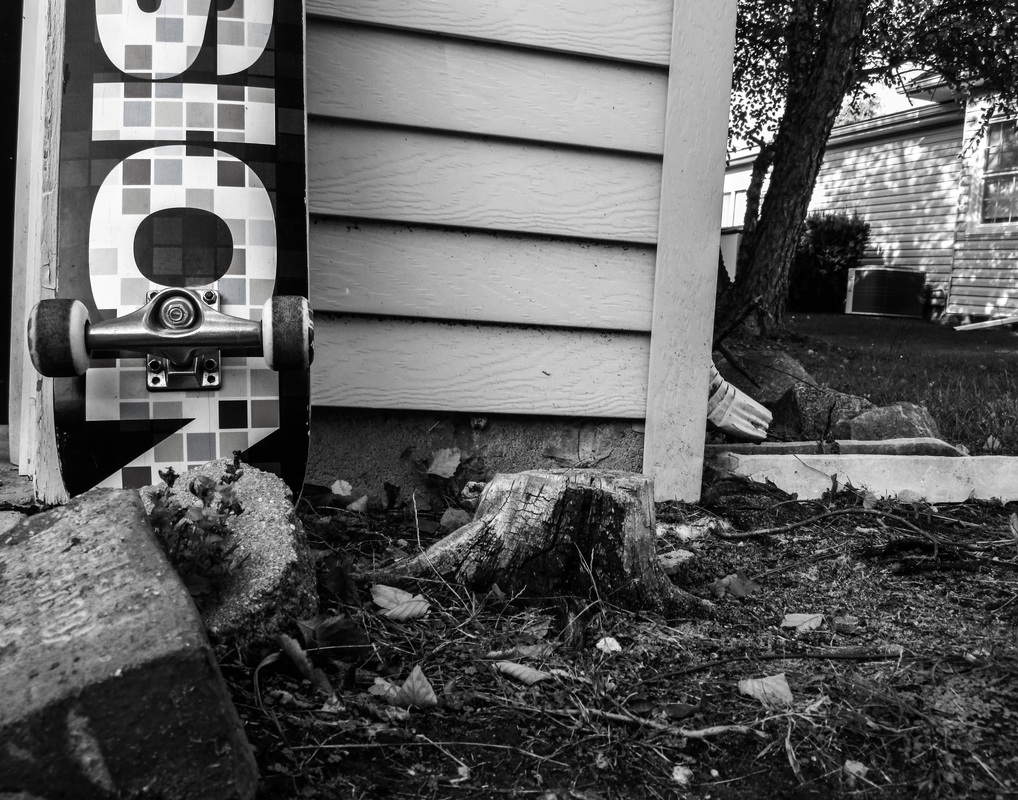 1/250s f/3.5 ISO 100 To edit this photo I turned the vibrance and saturation all the way own . I lowered the white and blacks by a little. I also increased shadows a little bit and increased the highlight to have all the tones on the histogram. I also increased the contrast and clarity to bring out more of the textures in the photo.This week I decided to shoot nature. I went out and it was a really gloomy day but I managed to find some really bright colors that stood out and created this scene you could say because it was like it was a bright subject on top of a plain background. This week from this assignment I learned that editing isn't the only thing that can make a picture cool or make a picture stand out. Most f the pictures I shot had those same colors in them I didn't add saturation or vibrance they were just that color. I learned not to rely so much on editing because most edits can be avoided by taking a good quality picture. 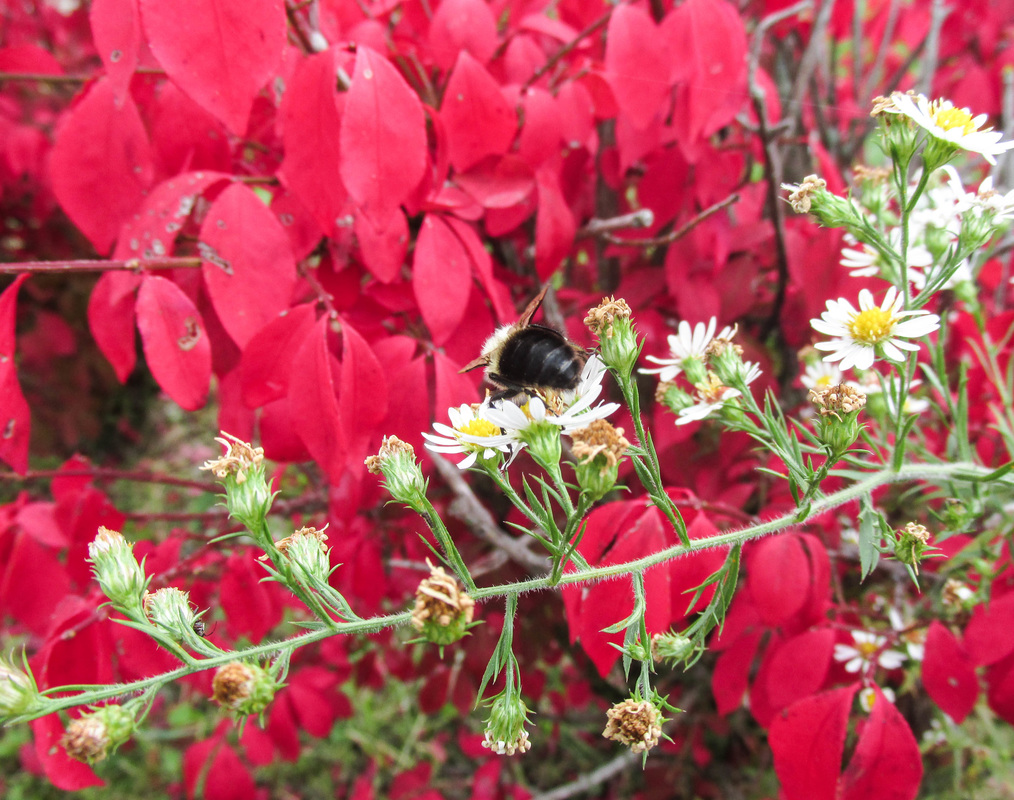 1/160s f/3.5 ISO 100 The edits that I used on this picture was cropping to focus more on the bumble bee as the main point. I also increased the clarity to bring out the different textures of the plants and of the bumble bee. The contrast helped to create more of a difference in the two different types and colors of flowers/plants. The assignment was to take the original photo (before) and replicate the edits in the demo photo to create the after picture. So we were trying to make our after picture look identical to the demo picture. In this assignment we used photoshop. Th tools we used were the clone stamp tool, selection tool, brush tool, layers and levels. I learned how to use layers to create an image. In my after image I made a mistake when blackening out the background so I also learned that I can copy selections on one layer and paste them on another layer to cover up mistakes. I also learned how to select an area of a photograph and make edits to only that section. I also learned how to use the clone stamp tool to cover up imperfections on a photo which I did in these photos to remove some of the reflections off the hood. I really liked this assignment because altering the image to increase the quality is something I think is really fun to do. 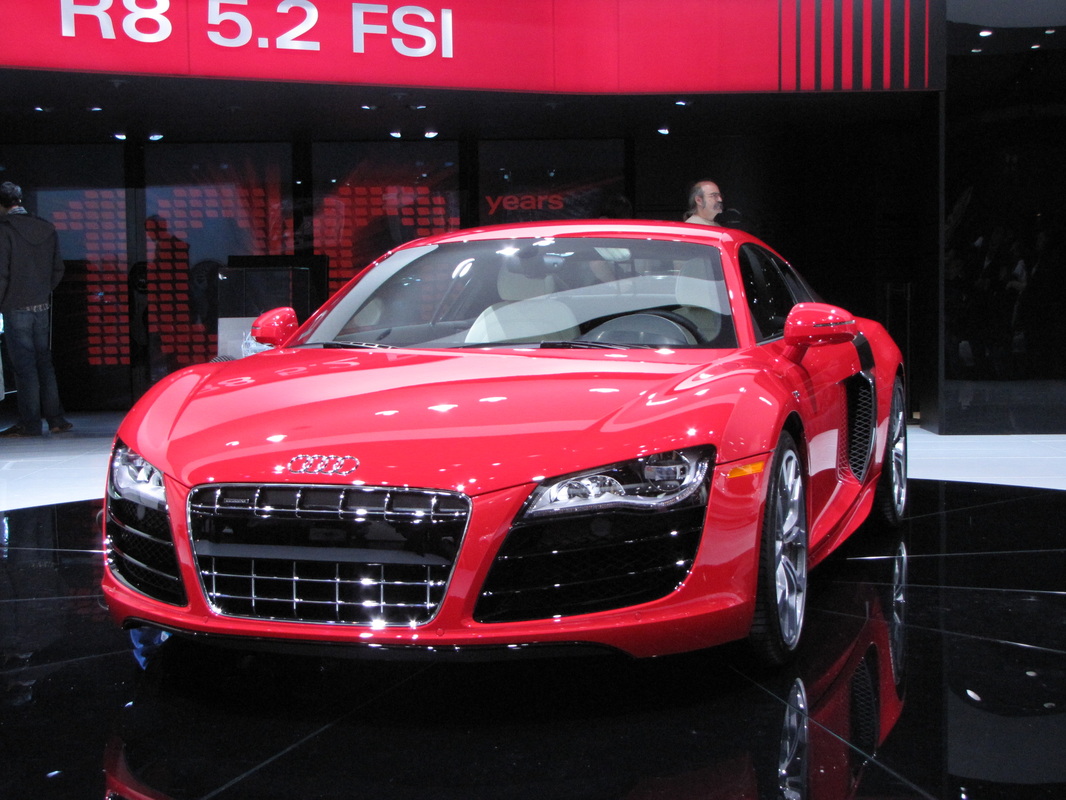 Before 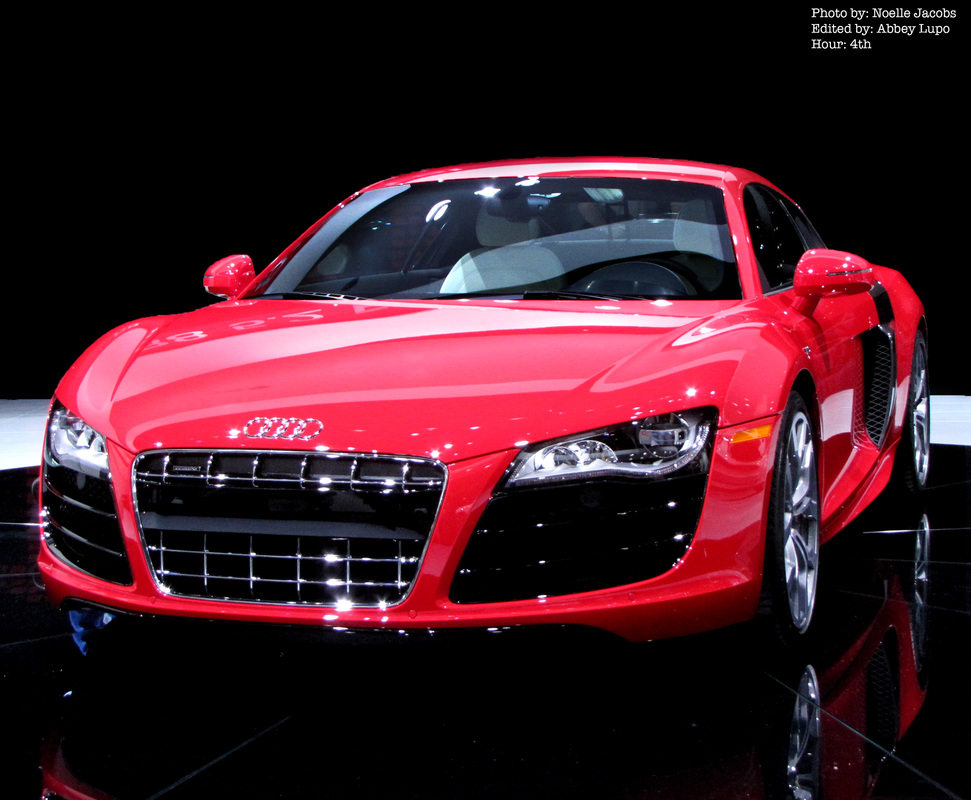 After One thing that I learned from this assignment is that in order to get a clear shot in different lights you have to adjust the shutter speed, aperture, and ISO properly. When I was taking my photos I ad to adjust those setting a lot more than the last assignment. I also learned you have to take multiple photos in order to get the shot you want. I didn't get my best photos in one shot. It took me a couple tries and the photos I chose as my best were those that I took from different weird perspectives which actually adds to the picture. 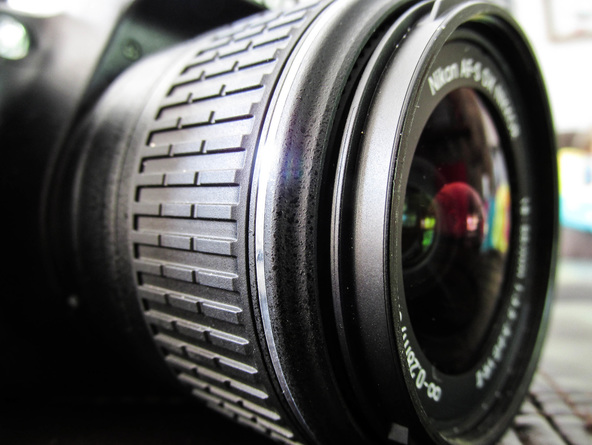 f/3.5 0.4/1 ISO 100 For the photo above I did a couple different edits. First I increased the clarity. Increasing the clarity gave the camera a sharp look and made the details stick out. I also increased the saturation to add more color to the glare in the lens. I also increased the white slightly and decreased the black slightly. This made the dark parts of the camera a little more intense and the same with the light parts. I wanted to really create a difference in the different colors in this picture. I think I accomplished this by doing the edits that I did. I used the application light room to do these edits.The assignment was to take a photo you already had of either you or something else and create a Warhol Pop Art. You had to use the editing in photoshop to crop the image into a square and change the threshold to create a black and white image. Then copy and paste four of the same pictures into a template created by rulers. After you pasted one of the photos you would drag it into one of the template slots then alter the hue and saturation to create the color you desired and did this same things with the other three photos. This was one of my favorite assignments. 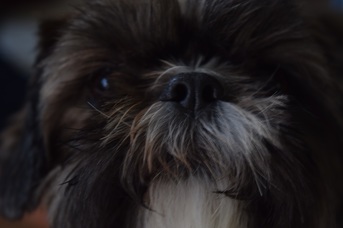 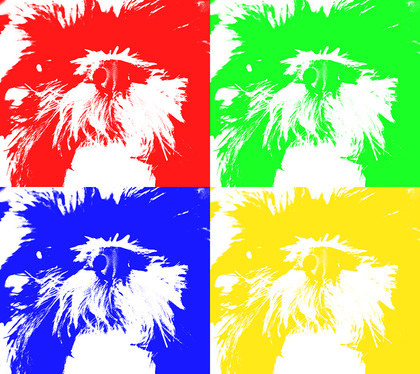 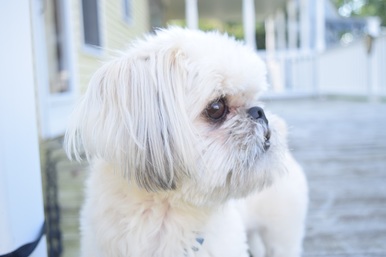 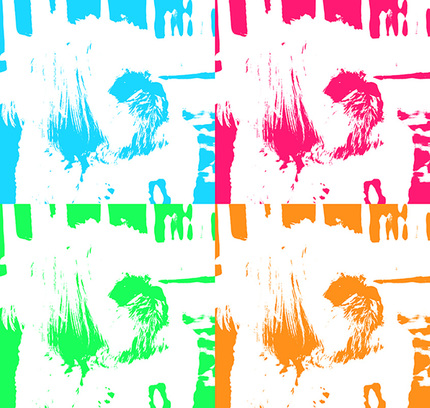 From this assignment I learned one how to crop image, however I already knew how to do that, but I also learned how to manipulate the saturation and hue in to create a picture in different colors. I also learned how to adjust the threshold to create a cool black and white effect n order to change the colors of the photos properly.
One thing I learned from this experience was you need to learn to work with your subject. My dogs and my tortoise continually moved and rarely stayed still long enough for me to take a quality photograph. My dog Annie (the blackish brownish dog) was very fascinated by the camera and continued to move in really close to the lens. However even though she was so close to the camera, I used that to capture a close up photo of her that really showed the texture of her fur. My other dog Obi (the cream dog) continued to bark at everything that moved outside, so I used that, I used a fast shutter speed to freeze the motion of him barking. These are just a couple of examples of how I worked with my subject not against it. I also learned that when using those faster shutter speeds, you really have to open up the aperture to get a lighter photo. A lot of my photos were to dark and I had to lighten them using photoshop. As a result of this photo assignment, i learned to work with my subjects and how to get a nice exposure in pictures when using faster shutter speeds.  f/3.5 1/60 ISO 200 On the photo above, I cropped the photo on the top and on the sides to create more of a focus on the subject. Also at first this photo was very bright so I lowered the brightness creating a more balanced exposure and emphasizing the fur on the dog. |
Archives
November 2016
Categories |
 RSS Feed
